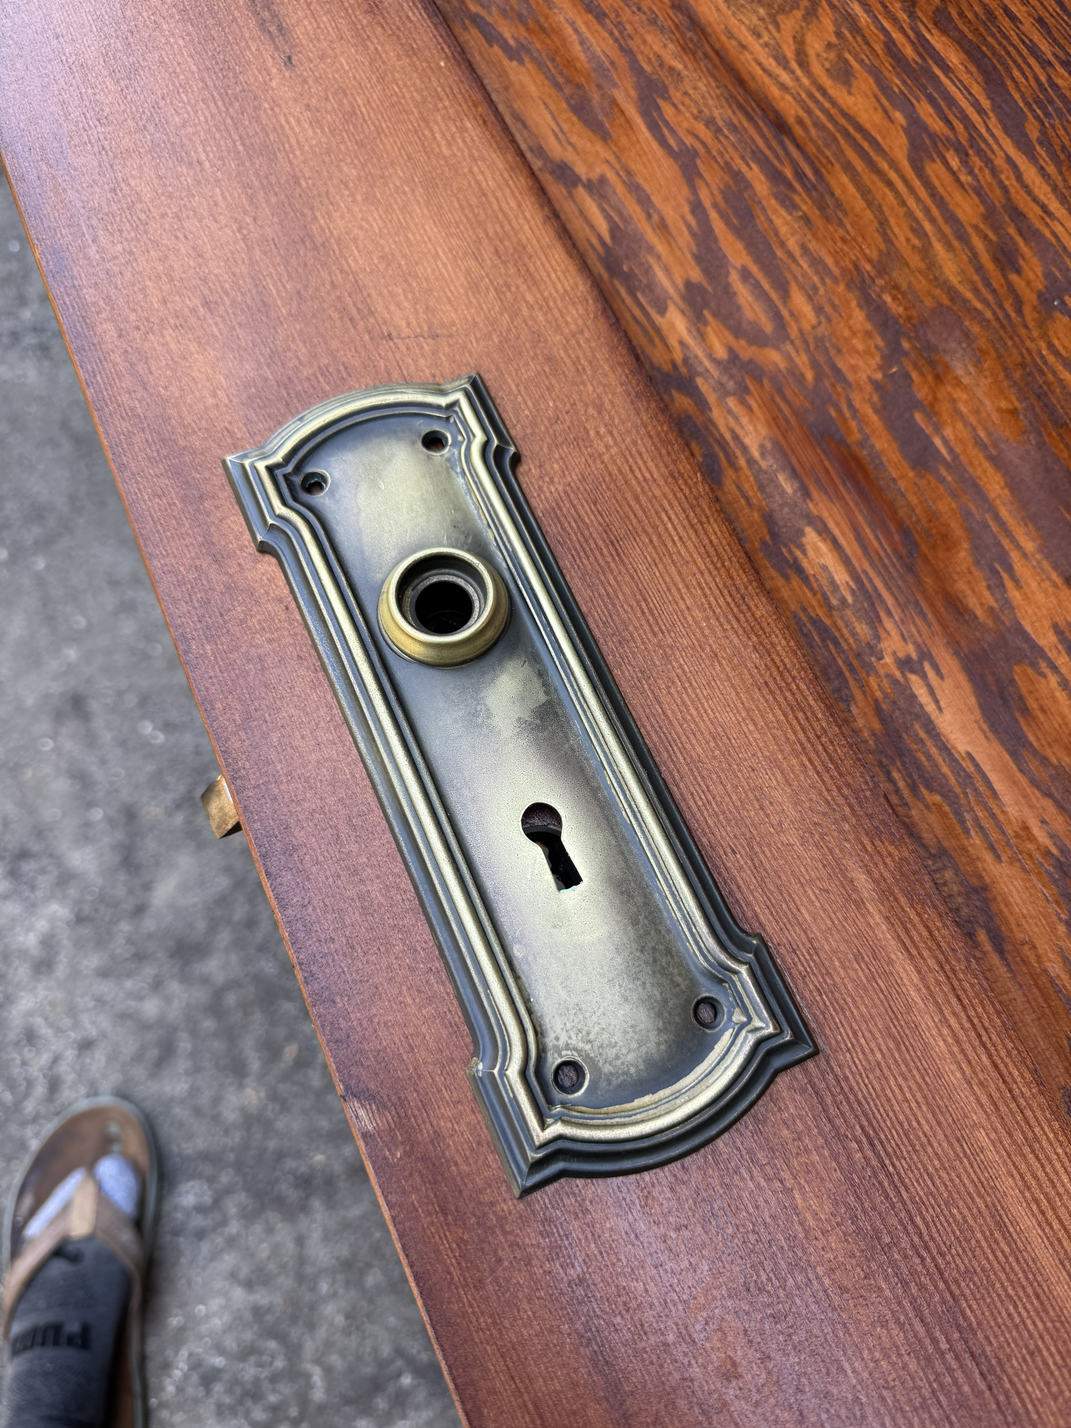
In addition to decades of paint, a modern lock had also been added to this original turn of the century door
After more than 100 years, this door gets refinished and reunited with original hardware.
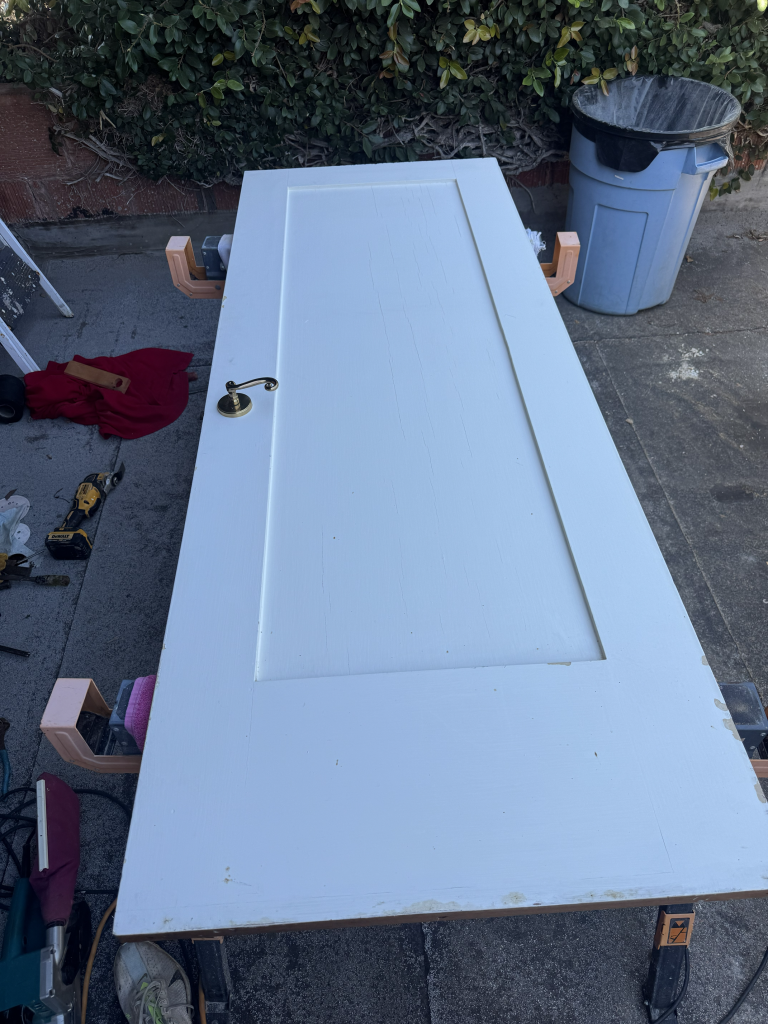
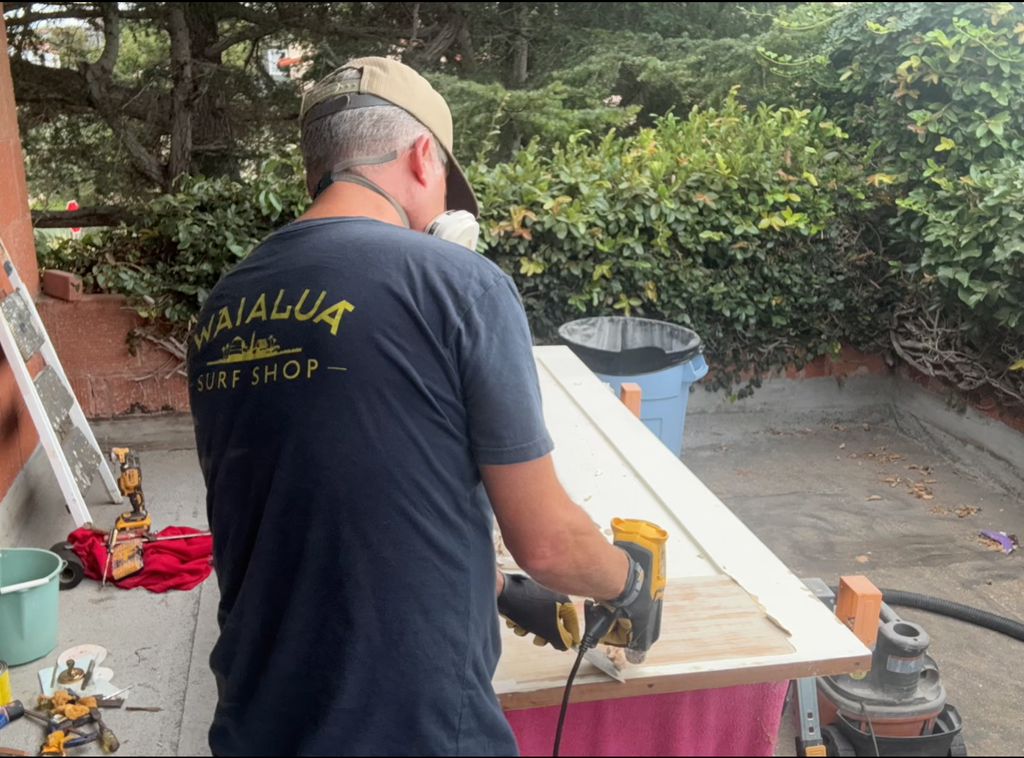
Step 1: Paint Removal
A heat gun and a stiff puddy knife to remove decades of paint.
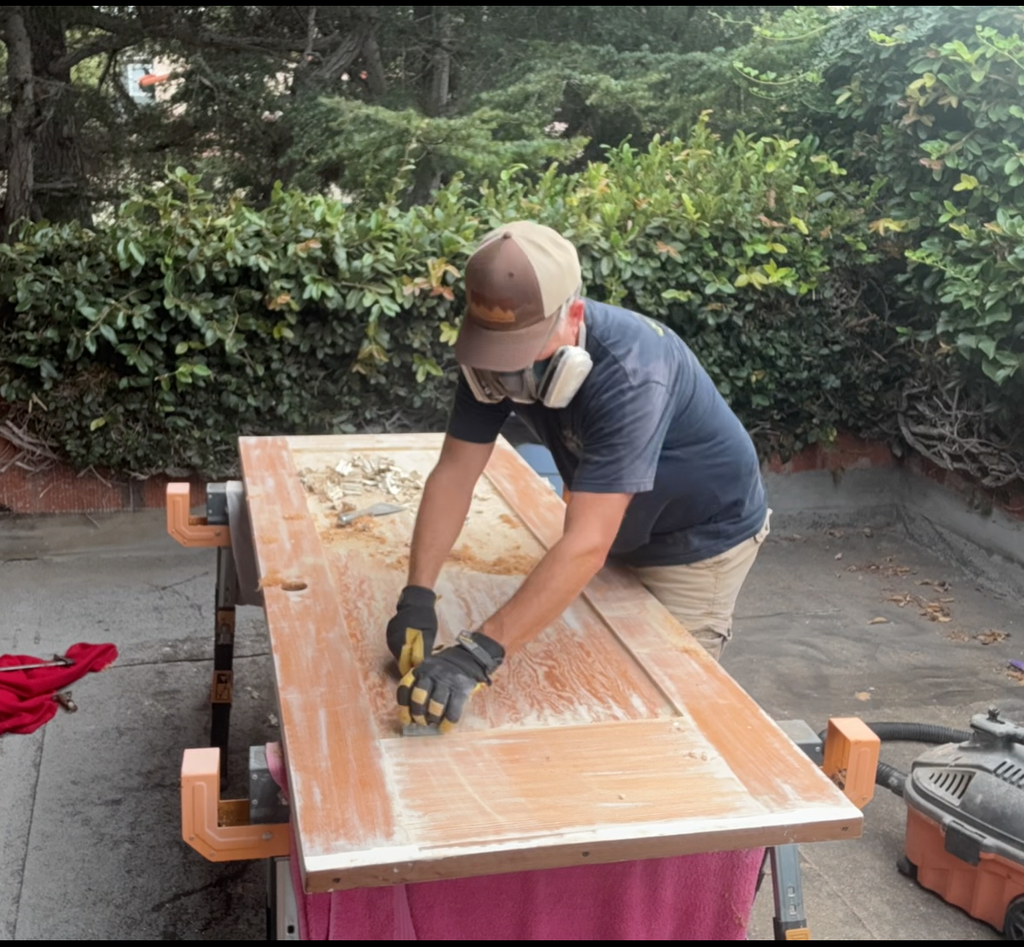
Step 2: Scraping the Surface
Using a carbide pull scraper, the remaining surface paint is removed by taking a small amount of wood off the top.
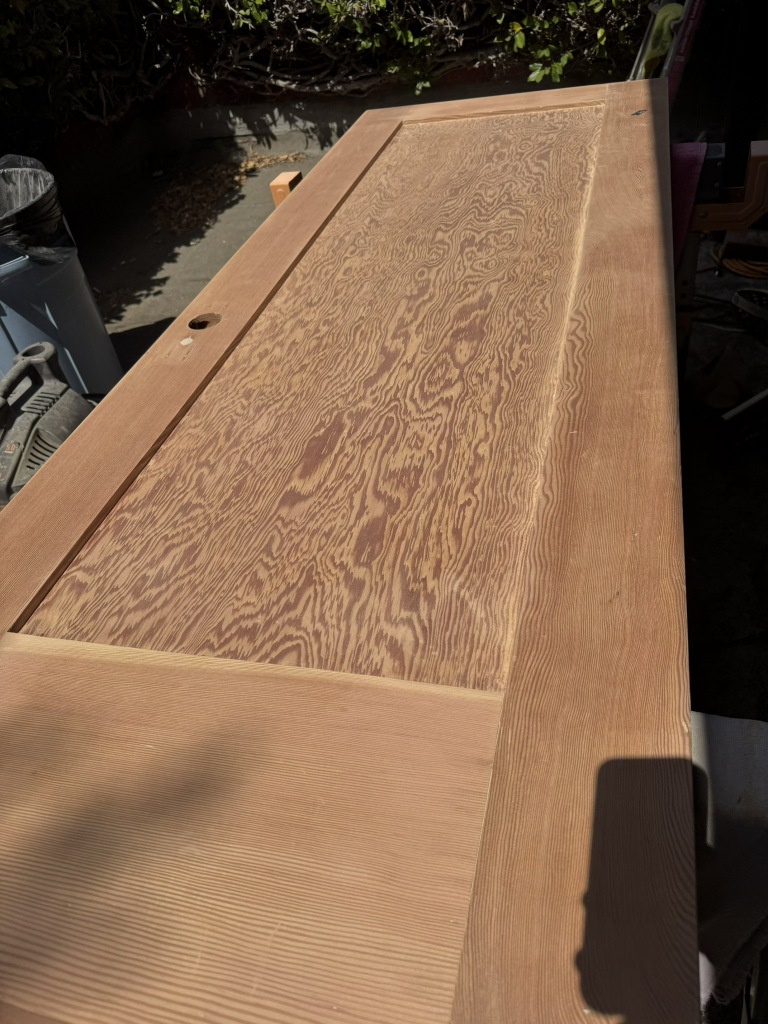
Step 3: Light sanding to smooth the surface and remove remaining paint stains
Light sanding with 120 grit sand paper using an orbital sander and hand sanding the hard to reach areas.
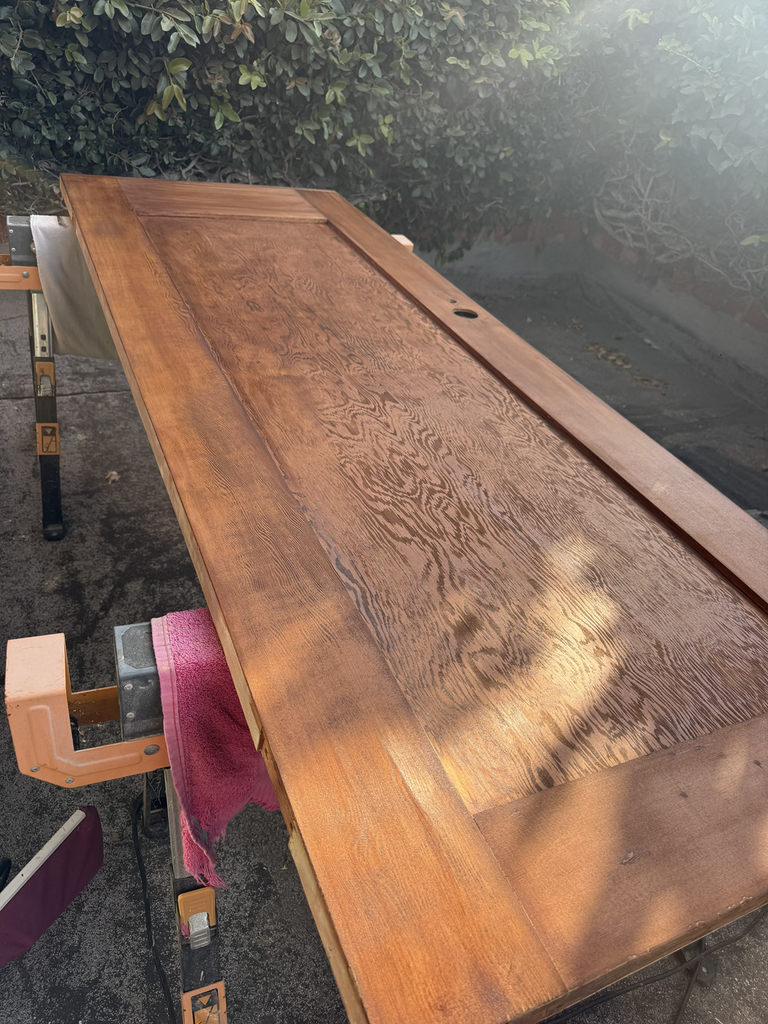
Step 4: Stain and Shellac
On this door, I used a gel stain for a more uniform color since the door was previously painted. Followed up the next day with three coats of Shellac.
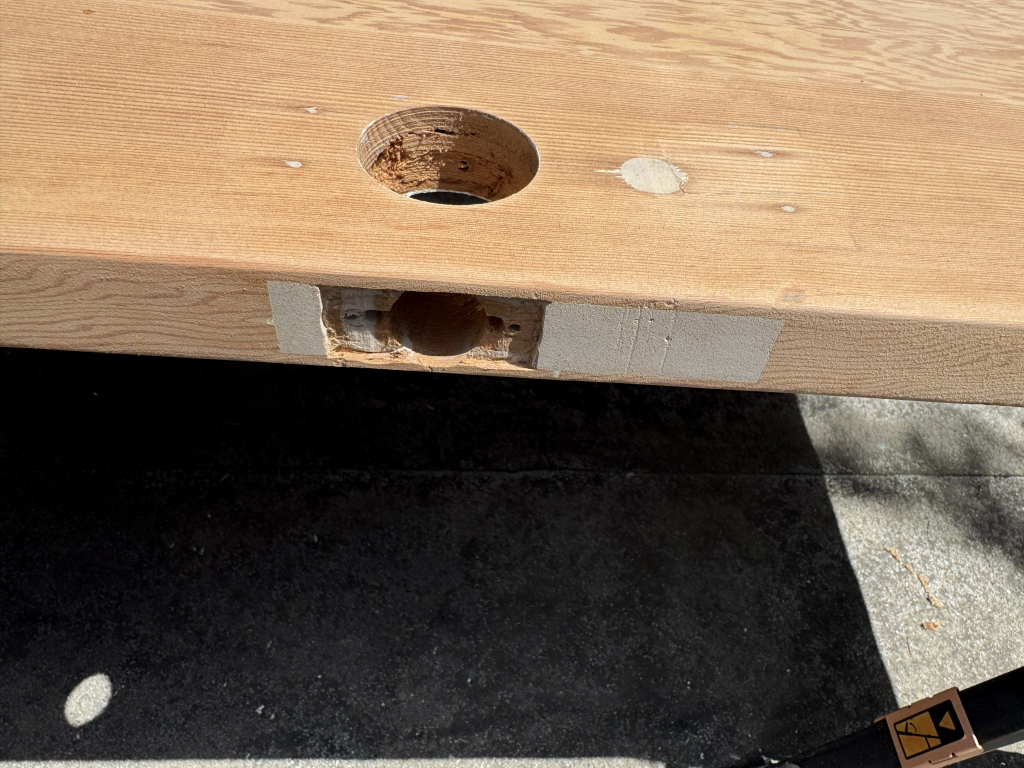
Step 5: Prep the door to use the original style hardware
The mortise opening had been filled to accommodate a modern lock mechanism. The opening was carefully restored to its original dimensions to accept a mortise. A faint outline of the original hardware remained.
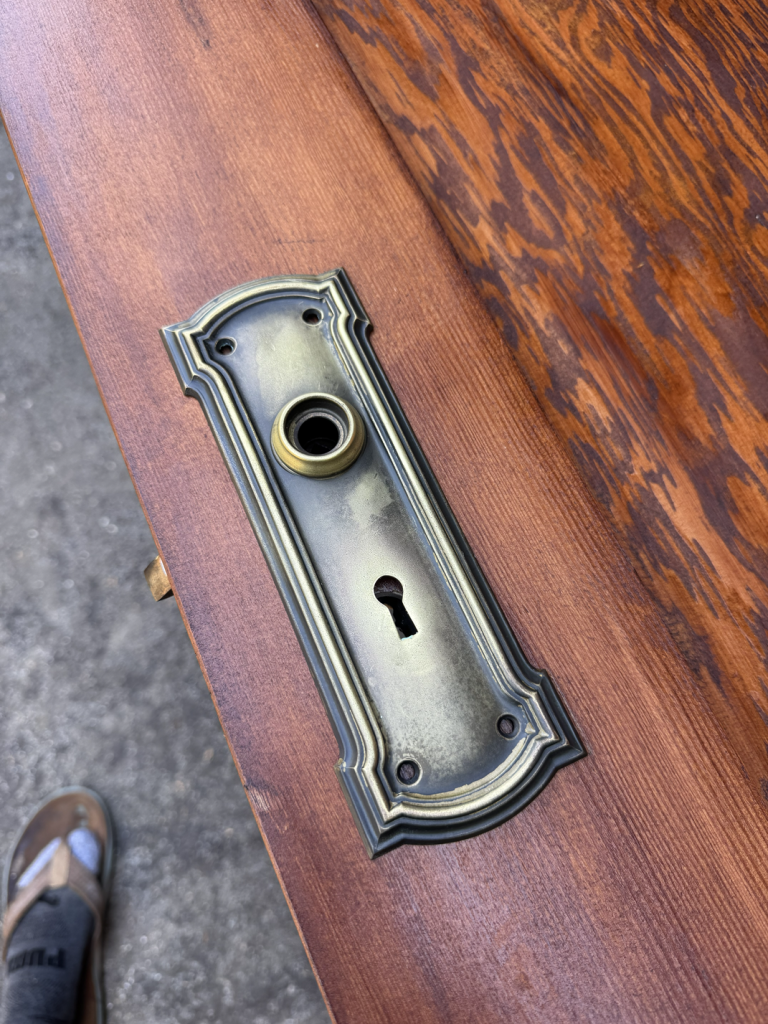
Step 6: Finish installing the hardware
The escutcheons were added back to their original location and the mortise and knobs were reinstalled. Fortunately the escutcheons just covered the hole that had been drilled for the newer lock.
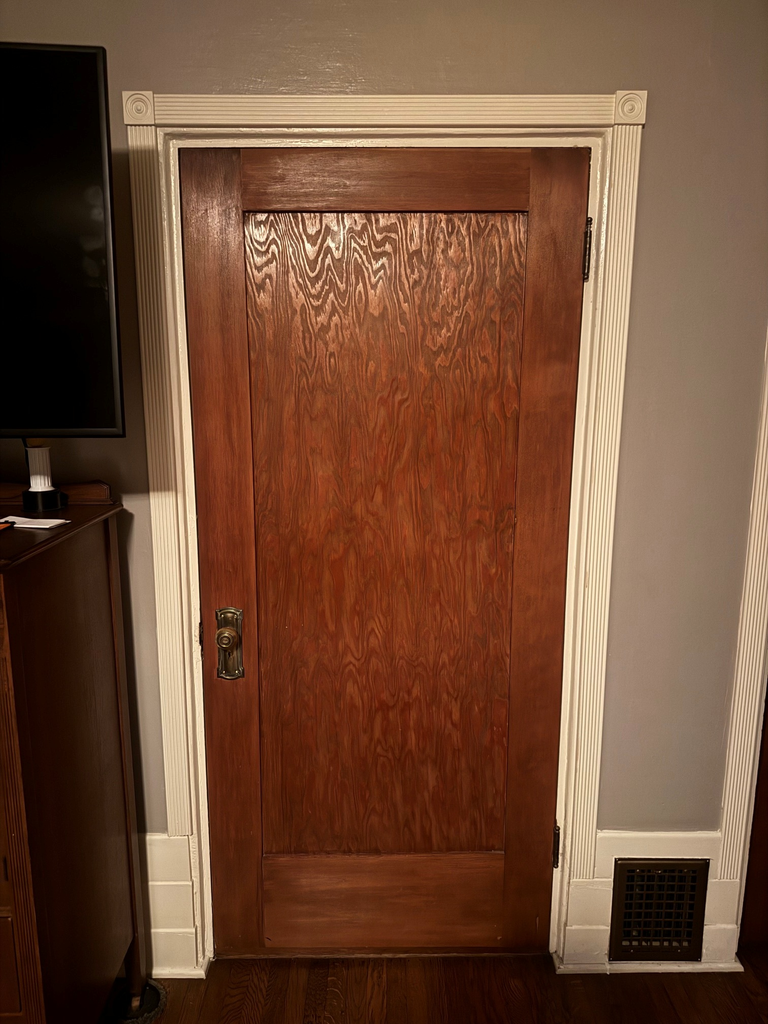
Final
The hinge hardware was put in the crock pot for three hours to remove the paint, then polished and sprayed with a coat of lacquer to prevent rusting. The door was then hung again where it will hopefully be for the next 100 years!
Leave a Reply